- [email protected]
- Mon-Fri 8AM-8PM | Sat-Sun 9AM-4PM

If you’re staring at an outdated wallpaper pattern and wondering where to start, you’re not alone. How to remove wallpaper the right way is one of the most searched home renovation questions — and for good reason. Done wrong, it can gouge your drywall or crack old plaster. Done right, it’s a weekend project that sets you up for a flawless repaint.
This guide walks through the exact process, the tools worth buying, and the mistakes that cause most of the damage — based on real removal jobs, not just theory.
To remove wallpaper: score the surface lightly, saturate it with warm water or a vinegar solution, let it sit for a few minutes so the glue softens, then peel and scrape gently from the top down. Clean off leftover adhesive with soapy water before painting or re-papering.
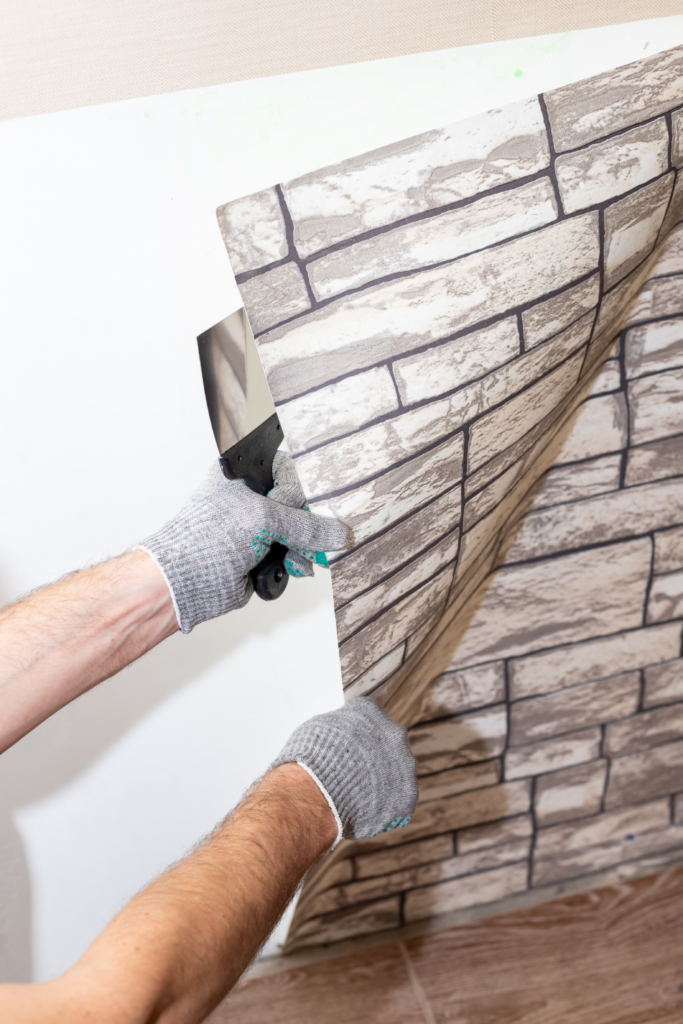
Before you start, gather the right tools for wallpaper removal — trying to do this with just a butter knife is how walls get damaged. Here’s the full list:
Skip metal scrapers on plaster or drywall — plastic tools give you enough control to lift the paper without carving into the wall underneath.
Here’s exactly how to remove wallpaper from a wall, from prep to the final scrape:
Working in small sections, rather than tackling the whole wall at once, is what keeps this job from feeling overwhelming — and it’s the single biggest factor in avoiding damage.
Removing wallpaper without damage comes down to patience more than tools. A few habits make the biggest difference:
Not every wallpaper responds to the same method, so it helps to know what you’re dealing with before you start spraying water everywhere.
Peel-and-stick wallpaper is usually the easiest category — it’s designed to be removed dry, without water or chemicals. Start at a top corner and pull down slowly and at a low angle. If it tears, use a hairdryer on low heat to warm the adhesive and try again.
Vinyl wallpaper, on the other hand, is a different challenge entirely. It has a waterproof top layer, which means water can’t penetrate it the way it does with traditional paper. You’ll usually need to score the surface first so moisture can reach the backing and glue underneath. Vinyl also tends to leave more adhesive residue, so budget extra time for the cleanup step.
You don’t necessarily need a specialty product. A homemade wallpaper removal solution works well for most jobs:
Store-bought chemical strippers exist and can help with stubborn, multi-layer jobs, but they’re pricier, messier, and not always necessary. Most homeowners get equally good results from a spray bottle and warm water.
For thick, old, or multi-layered wallpaper, a wallpaper steamer often outperforms any spray solution. Fill it with water, let it heat up, and hold the plate against the wall for 10 to 15 seconds per section before scraping. Steamers are inexpensive to buy and easy to rent, and they cut down significantly on scraping time for stubborn adhesive.
Once the paper is off, the job isn’t quite finished. Leftover adhesive left on the wall will show through fresh paint or cause new wallpaper to bubble.
How long does it take to remove wallpaper?
A single average-sized room usually takes 4 to 8 hours, depending on the number of layers and wallpaper type.
Can I remove wallpaper without any chemicals?
Yes. Warm water alone is often enough for standard wallpaper — vinegar or dish soap mixes simply help break down stronger adhesive.
Will removing wallpaper damage my walls?
Not if you work patiently, use plastic tools, and avoid forcing dry sections. Most wall damage happens from rushing or scraping before the glue has softened.
Do I need a steamer to remove wallpaper?
No, but it speeds things up considerably on older or multi-layered wallpaper where spray solutions alone take longer to penetrate.
Removing wallpaper isn’t complicated once you understand the process — it just takes the right prep, the right tools, and a bit of patience section by section. Whether you tackle it yourself or bring in help for a larger job, getting the adhesive fully off the wall is what sets up a smooth, long-lasting finish.
DIY removal works well for most single rooms, especially with peel-and-stick or newer wallpaper. But if you’re dealing with multiple layers, delicate plaster in an older home, or a large area, it’s often faster and cheaper in the long run to bring in a professional rather than risk repairing damaged walls afterward.
At Paper Perfect Walls, this is the kind of job we handle every week — different wallpaper types, different wall surfaces, and the surface-specific techniques that keep plaster and drywall intact. If your project feels bigger than a weekend DIY, a quick assessment can tell you whether it’s worth the extra pair of hands.